
Grok Setup
Grok reaches Nexus-Catalyst two ways. Use whichever matches where you work — they are not exclusive.
| Surface | Method | Recall |
|---|---|---|
| grok.com | Custom connector (OAuth) | Model calls the tools |
| Grok CLI / Grok Build | Plugin — MCP rule plus a stop hook | Model calls recall; storage is automatic |
Grok on the web
Section titled “Grok on the web”Prerequisites
Section titled “Prerequisites”Custom connectors sit on Grok’s paid tiers, and the MCP server must be reachable on the public internet. Ours is.
- Go to grok.com/connectors
- Choose New Connector, then Custom
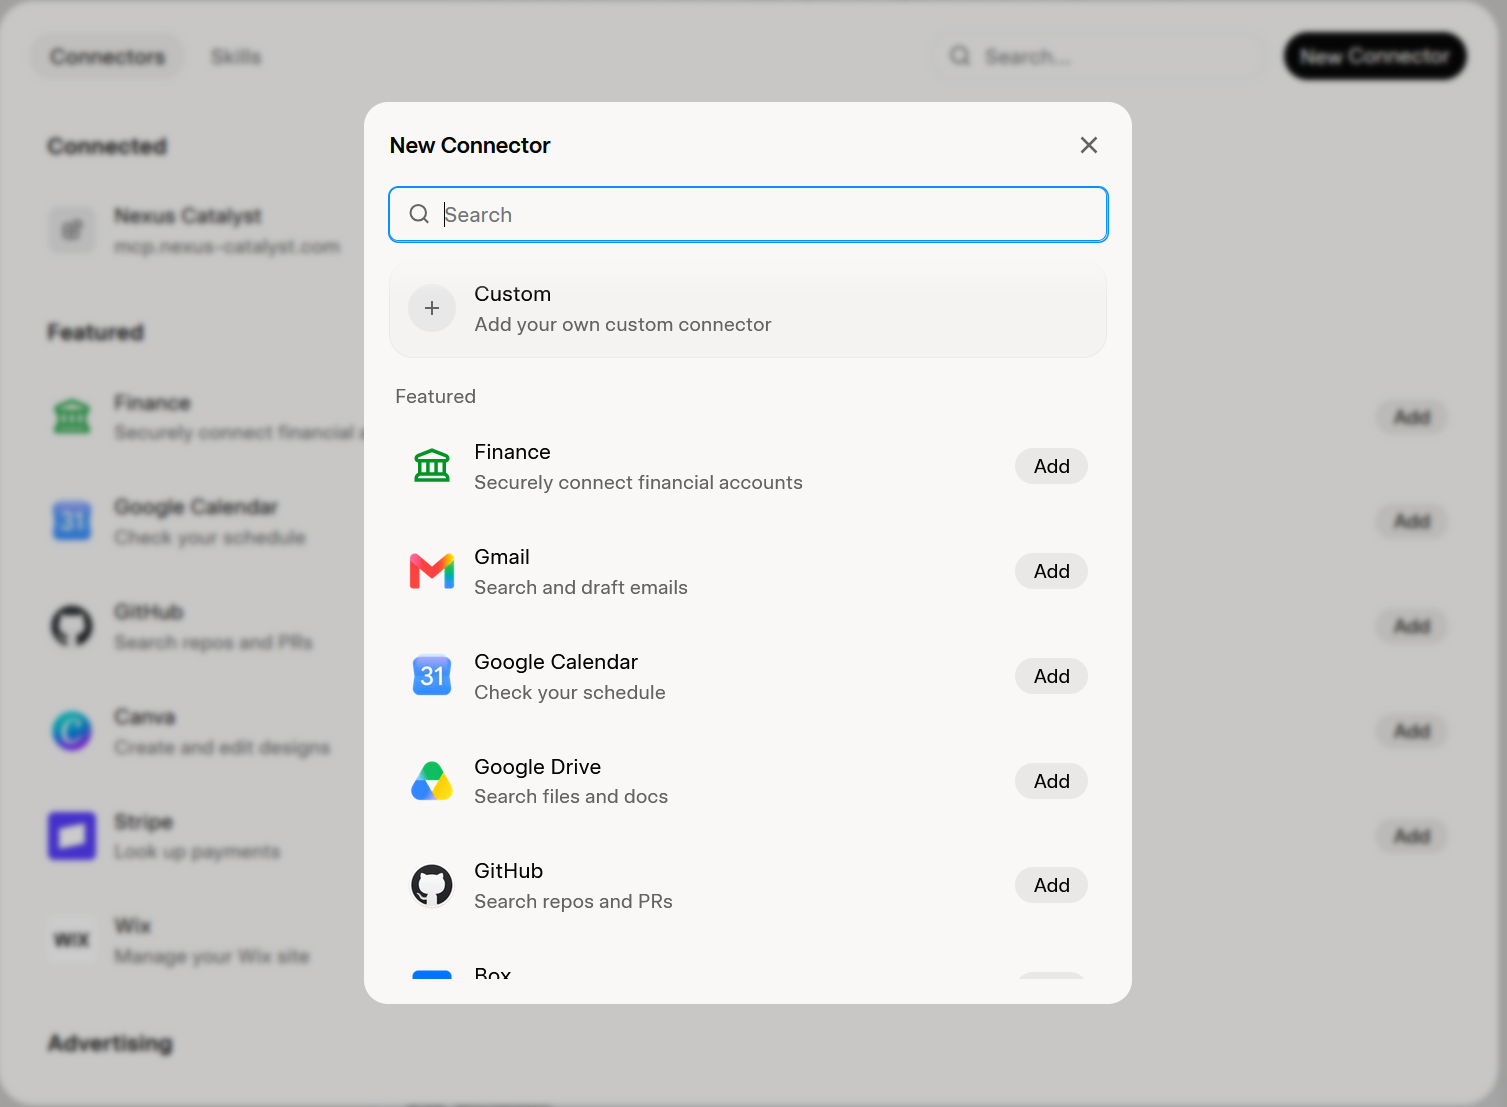
- URL:
https://mcp.nexus-catalyst.com - Sign in with your Nexus-Catalyst account when prompted
Grok discovers the tools and they are available in your next chat.
Then add the Agent instruction set to your custom instructions, or Grok will not call recall unprompted.
Grok CLI and Grok Build
Section titled “Grok CLI and Grok Build”Both use the same CLI surface, so the same plugin covers them.
Install
Section titled “Install”npm install -g @nexus-catalyst/grok-pluginexport NC_PLUGIN_API_KEY="your-plugin-key"nc-grok installnc-grok statusYour Plugin API key comes from Account → API Keys. Put the export in your shell profile (~/.zshrc, ~/.bashrc) so it survives new sessions.
What it installs
Section titled “What it installs”- A rule telling the model to call
recall_contextat the start of a session - A stop hook that stores the exchange when a session ends — this half is automatic
So recall depends on the model following the rule, while storage does not.
Commands
Section titled “Commands”nc-grok install # Add the NC rule and stop hooknc-grok uninstall # Remove them, leaving other config intactnc-grok status # Check installation state and API keyTroubleshooting
Section titled “Troubleshooting”nc-grok status shows no API key
Section titled “nc-grok status shows no API key”NC_PLUGIN_API_KEY is not set in the shell you are actually using. Check with echo $NC_PLUGIN_API_KEY.
Recall is inconsistent in the CLI
Section titled “Recall is inconsistent in the CLI”Expected to a degree — recall here is a rule, not a hook, so it depends on the model. Adding the full Agent instruction set makes it markedly more reliable.
Need help? Common Issues · support@nexus-catalyst.com